GitHub and Git
I believe it's good to start using Git as early as possible, to better and more quickly understand its advantages and workflow. I will begin by explaining some general information about version control tools, then we'll move on to how Git runs on your system.
The difference between GitHub and Git can be confusing at first, but it's quite simple.
Git is a tool that allows developers to manage their code. When you use Git, you create a history of all the changes you make to your code, which is truly powerful, especially when working on a project with others or when you need to return to previous versions of the code.
GitHub is simply one of many websites where you can publish code repositories. There are many others like GitLab and BitBucket, but for this course, we'll use GitHub.
Concepts
-
VCS – Version Control Software,
-
SCM – Software Control Management,
-
SCM – Source Code Management,
-
Repository (Repo) – database/image/collection of project files/file repository (collection),
-
Git status – checking the status of a Git repository,
-
Staged – preparing files for commit,
-
Clone – clones a repository located on a remote server,
-
Branch – local snapshot of the project. Allows working on parallel versions without affecting the main version of the project,
-
Commit – saving changes to the server.
-
.gitignore – By default, the .gitignore file is not added to a repository. The .gitignore file is used by Git to ignore files you don't want in the repository, for example: images, video files, compiled files, private files, etc.
Version Control System
Git is a distributed version control system (Version Control System - VCS) for managing source code.
Simply put, version control is a system for tracking changes made to files. As you modify files, the version control system records and saves each change.
This allows you to restore a previous version of the code at any time. Without a version control system, you would have to manually save multiple versions of the file or files using different names (for example, version-1-contact.php, version-2-contact.php). This method is time-consuming and, when dealing with hundreds of files, the situation becomes extremely complicated.
Git was developed by Linus Torvalds to manage the development of the Linux kernel project in 2005.
Why Version Control?
The main reasons why Git is used are the following:
- Software projects are developed collaboratively, with code being managed by multiple programmers,
- It offers a backup solution independent of the development machine used,
- It is a platform that allows collaborative work (each person works on their local machine and then the changes are uploaded to the system to be available to all team members),
- It is a platform that allows access to the history of changes,
- Today, everyone uses a version control solution, companies like Facebook, Google, LinkedIn and many others.
Basic Features of Git
Let's look at the most important advantages of using Git:
- It is a distributed system,
- All users have access to the history of changes,
- Work can be done on development machines offline,
- There is no central control authority – everyone has the same rights,
- Changes can also be transmitted in P2P (peer-to-peer) mode without going through a server,
- It is a distributed version control system (Distributed Version Control - DVC),
- Files are tracked by verifying their hash (SHA-1).
Installing, Configuring and Using GIT
Create a GitHub Account
To do this, you'll need to set up a GitHub account and install Git on your computer.
You need to visit: GitHub
After creating your account, come back and we'll install Git.
Now, let's install Git from: git-scm.com/downloads
☞ Make sure you choose the correct version for your computer.
After installing Git, you can use it directly from the command line. Now you understand why this tutorial comes after the tutorial: "Command Line"
You can also install Git in GUI (graphical interface) version from: desktop.github.com
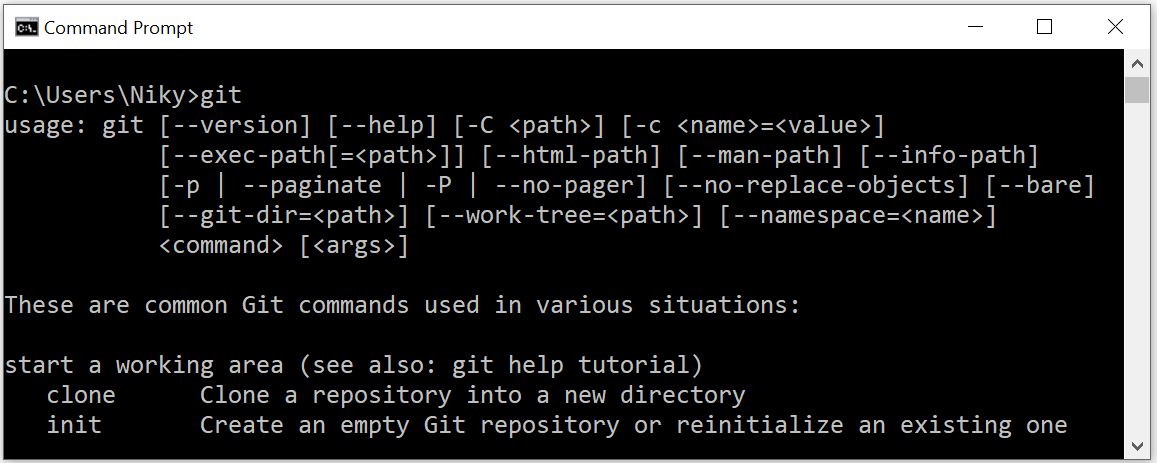
To use Git, you need to open "Command Prompt" (Windows). After opening it, you can type git and press Enter. You should see a message explaining Git usage at this point, but you shouldn't see a message saying Git is not recognized as a command. In that case, you may need to try reinstalling Git.
Creating a Project – Method 1
You can use this technique when starting a project from scratch.
-
Create a new repository on github.com. Name this repository as you wish (I'll name mine: demo-git). Check the box to create a README file,

-
Copy the clone URL (https) from the repository page on GitHub,

-
In the terminal (Command Prompt), navigate to the directory where you want to start the project (for example: proiecte-web). Do not create a folder for the project itself! The cloning process will automatically create this folder,
-
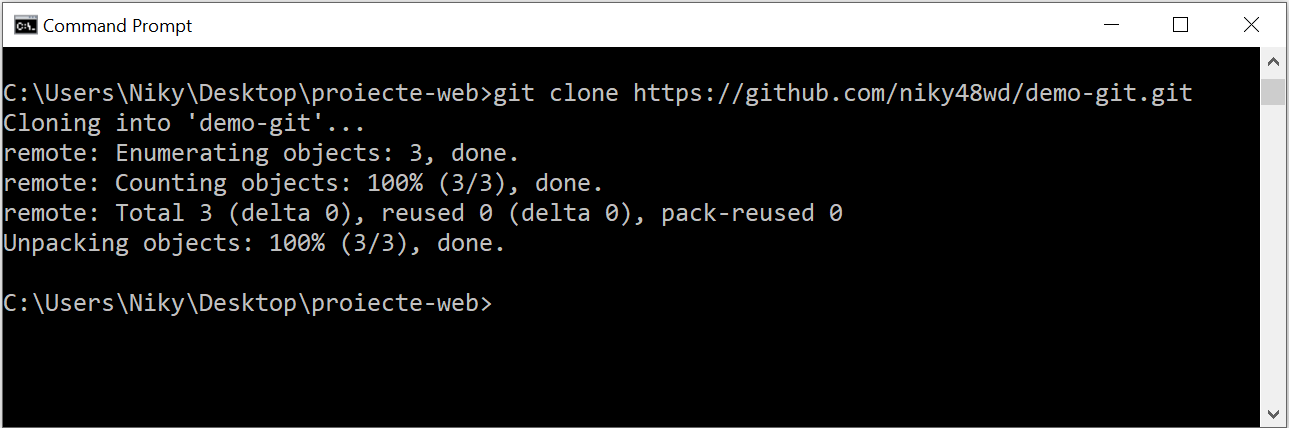
Use the command git clone [url], make sure you paste the link copied in step 2,
-
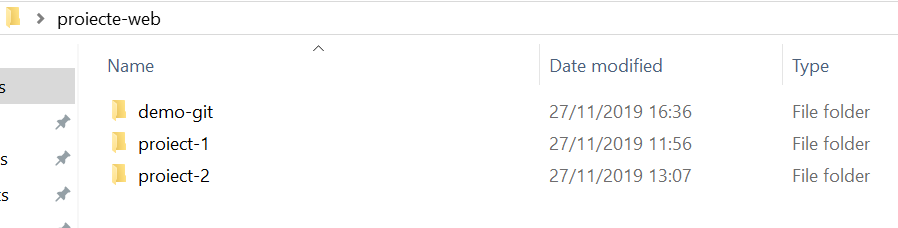
The repository should be cloned, and now you should have a new folder named after the repository on github.com. In the working directory – proiecte-web, I will have the newly created folder: demo-git. You'll need to change the working directory to this folder before running any Git commands on it.
Creating a Project – Method 2
You can always use this technique, but it's especially useful when you already have a project folder on your computer that you want to upload to GitHub.
From the command line, you need to navigate to a folder you want to use for a specific project.
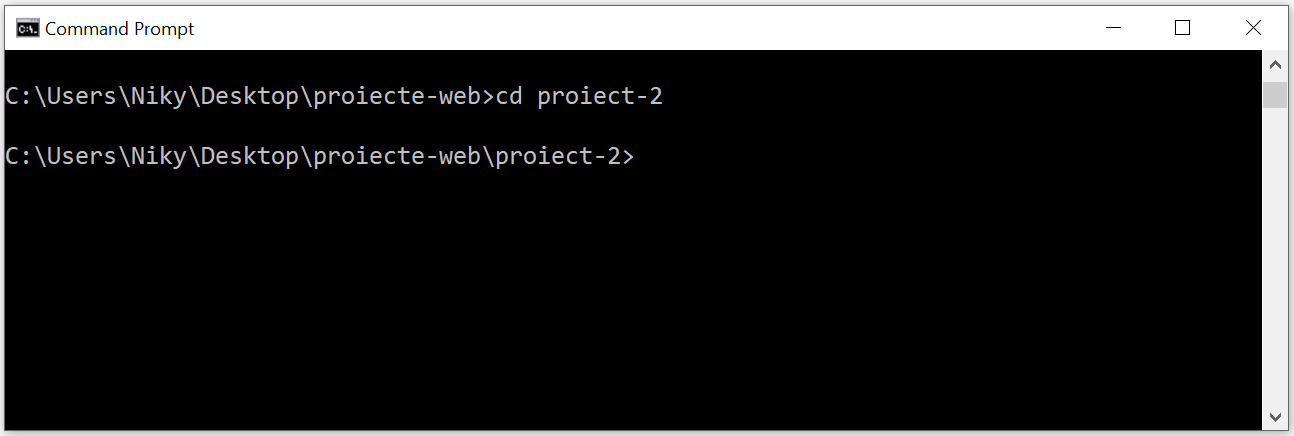
I will navigate to the directory "proiecte-web/proiect-2", like this:
cd Desktop/proiecte-web/proiect-2
The folder "proiect-2" is currently just a local repository (master repository) on the computer I'm working on, and it contains a series of folders and files.
☞ This folder should be empty or contain files typical of a web project!
Do not use the desktop or the root of the Documents folder!
Through what we're about to do, we will transform this local repository into a remote repository (hosted remotely), also called Origin/Master. Basically, I will create a copy of this project on GitHub and thus establish a connection between the two projects.
Both projects will be located in what we call the master branch (main branch).
As you'll see later, other branches of the same project can also be created.
For method 2, follow the steps below:
-
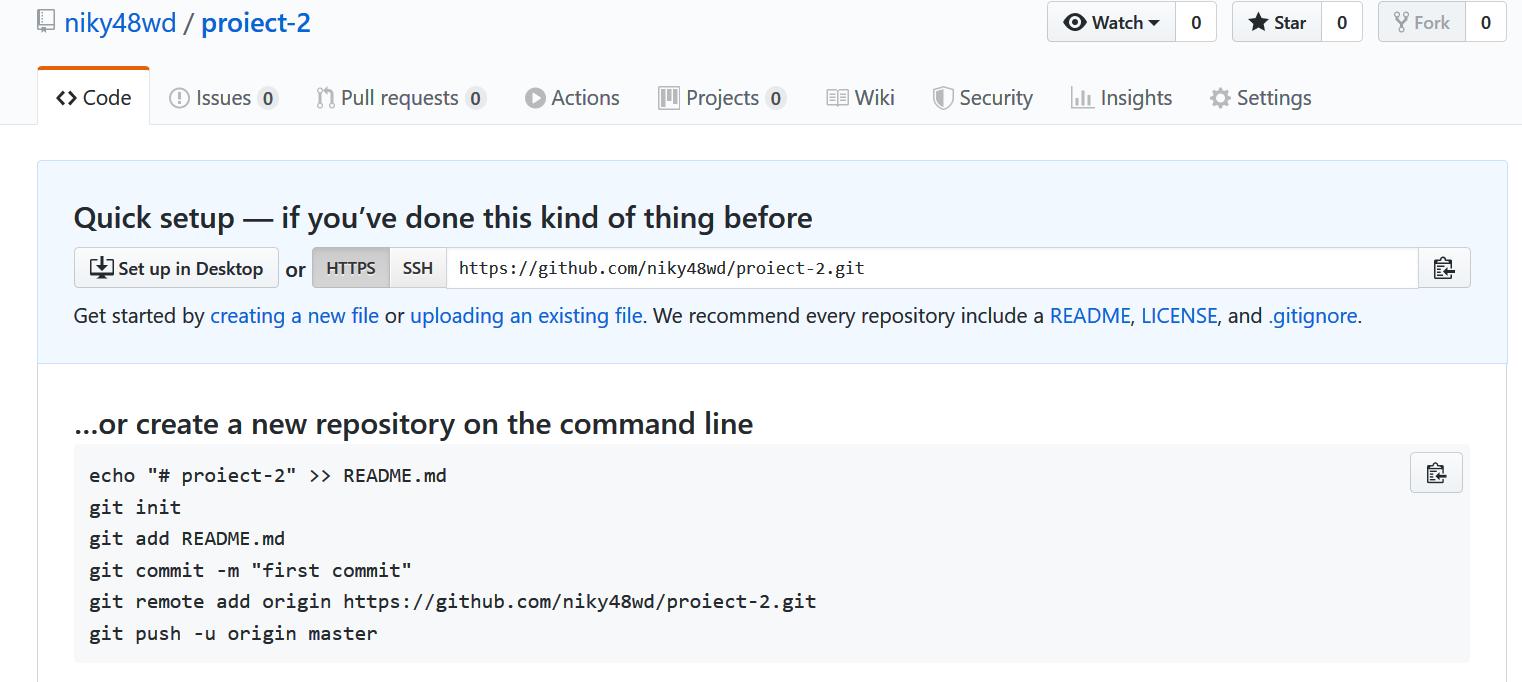
On github.com, in your account, create a new repository, preferably with the same name as the project on your computer (in my case: proiect-2). Make sure not to check "Initialize this repository with a README" or .gitignore.

-
Copy the URL from the repository page on GitHub.
-
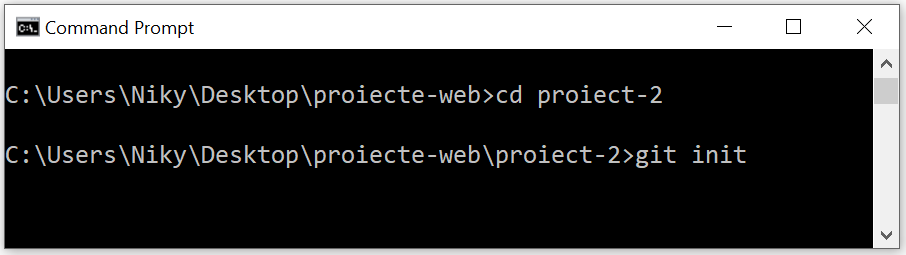
In the terminal, make sure to navigate to the directory where the project files are located (in my case: proiect-2),
-
Run the command > git init to initialize Git in the folder where the project is located, so we can use Git commands in that folder. This will initialize Git in this folder and allow Git to start tracking the changes you make.
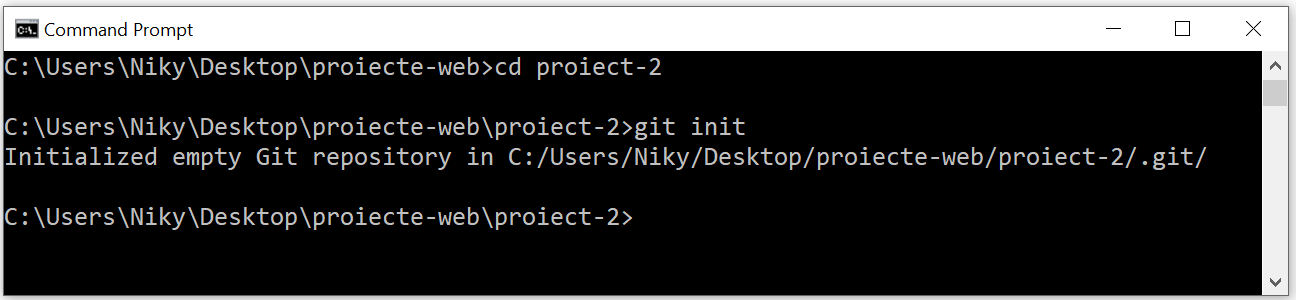
At this point, all Git commands should work. We will now execute a series of commands to check the project status and upload the files to the server:
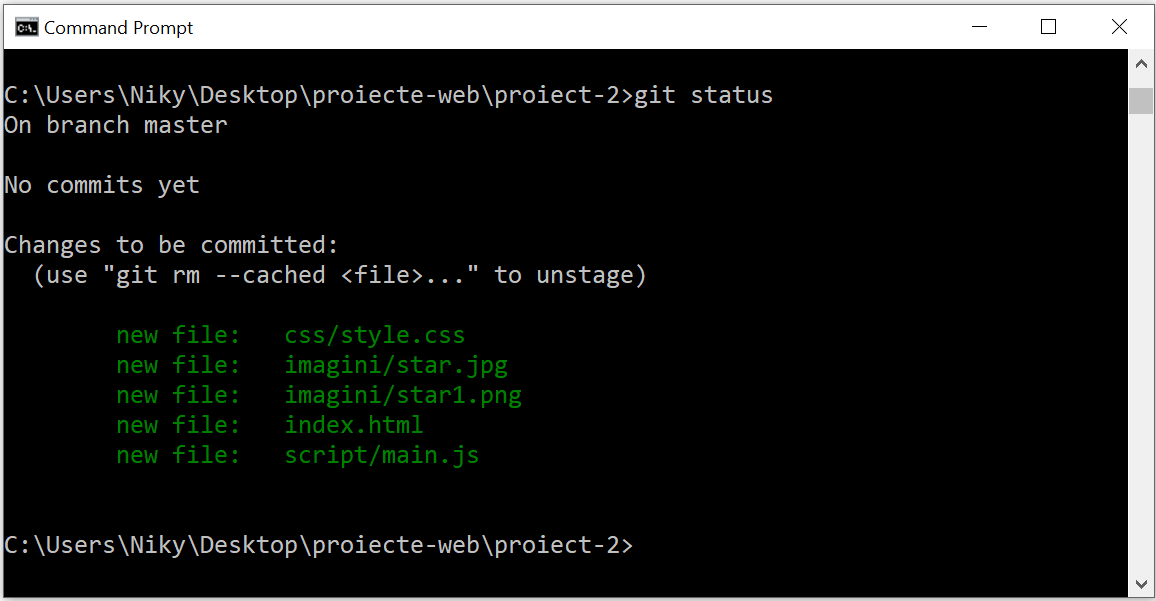
git status
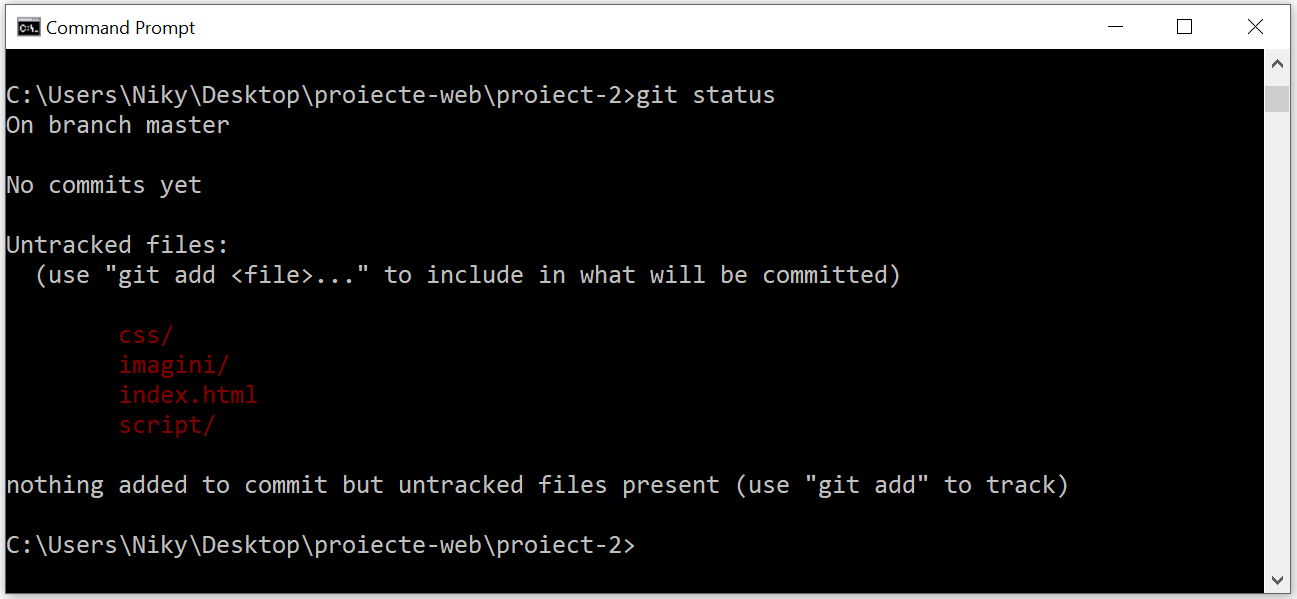
In the image above, we can see a series of folders and files listed in red—basically, the contents of the "proiect-2" folder.
This means the files are not on the server.
To prepare the upload of all folders and files, we execute the command:
git add --all
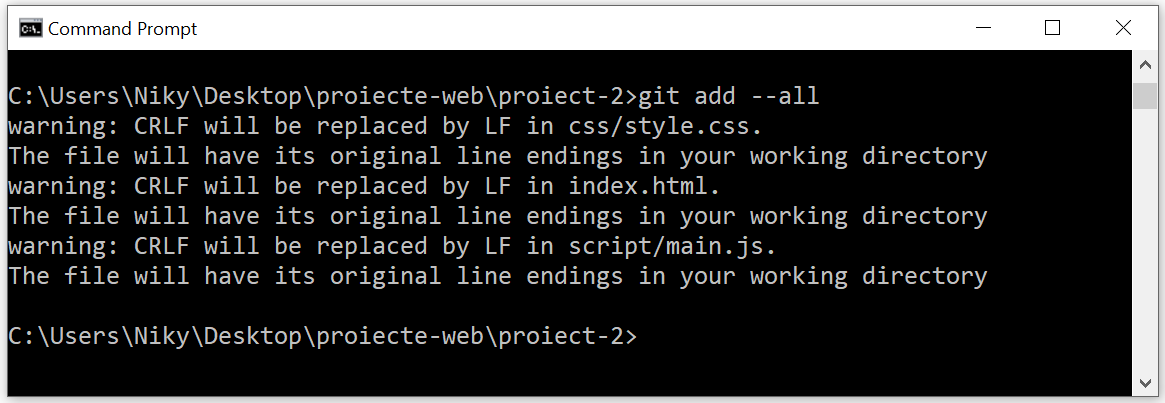
Now if we check the file status again, we see that they are listed in green, which means they are "staged", meaning they are ready to be uploaded to the server.
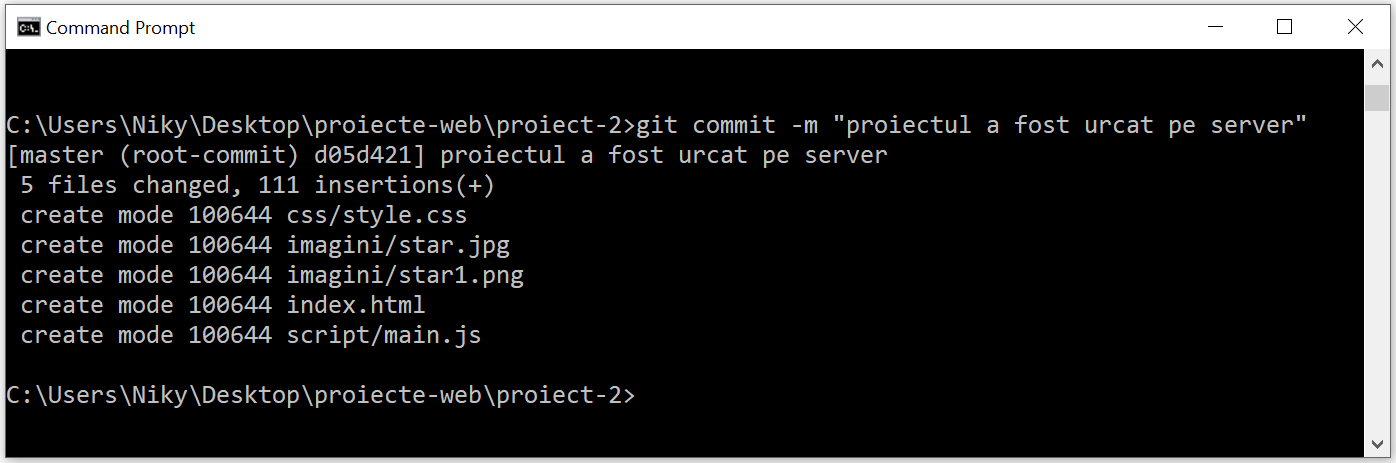
Next, we execute the git commit command with a message:
git commit -m "the project has been uploaded to the server"
The message serves to remind us what changes we made to the files in our project.
-
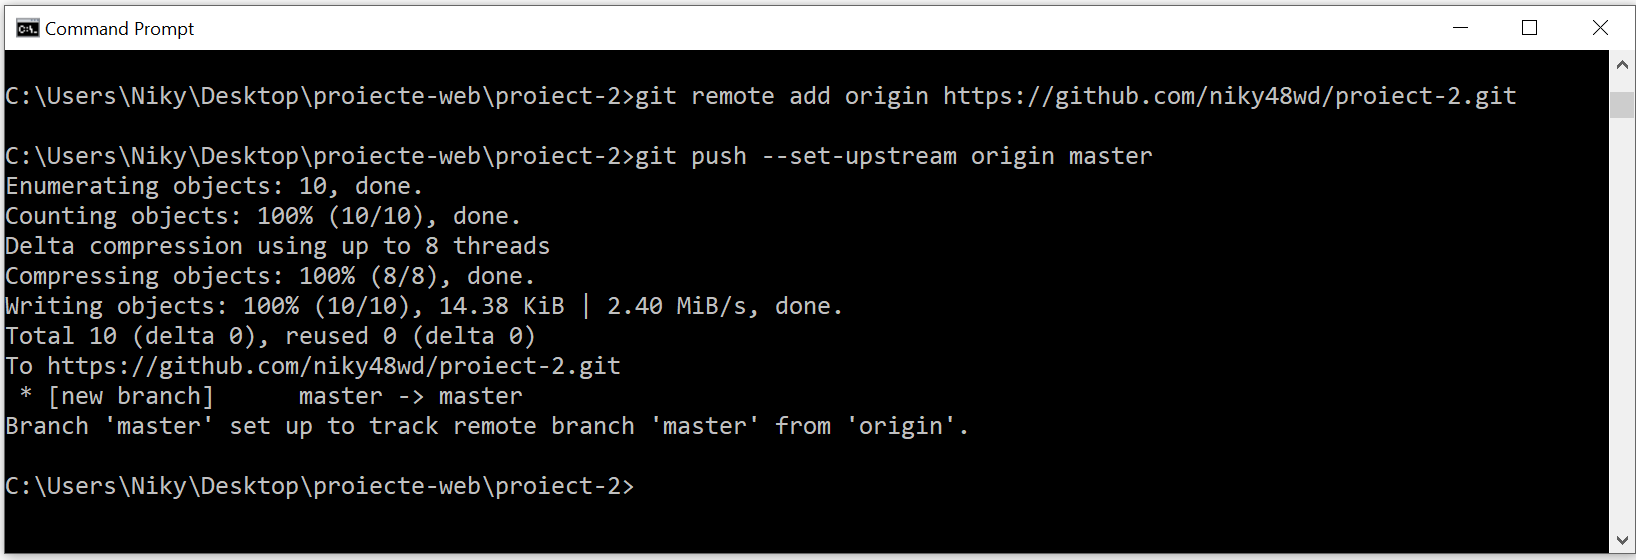
Now we will use the remote add command, git remote add [name] [url]. Replace [name] with origin and [url] with the project URL copied from GitHub, like this:
git remote add origin https://github.com/niky48wd/proiect-2.git
then we execute the command:
git push --set-upstream origin master
The two commands above are executed only once when creating the project and serve to create a link between the local repository and the remote repository on GitHub. We will use the simple git push command later, after making changes to the local files and wanting to apply the changes to the files on the server.
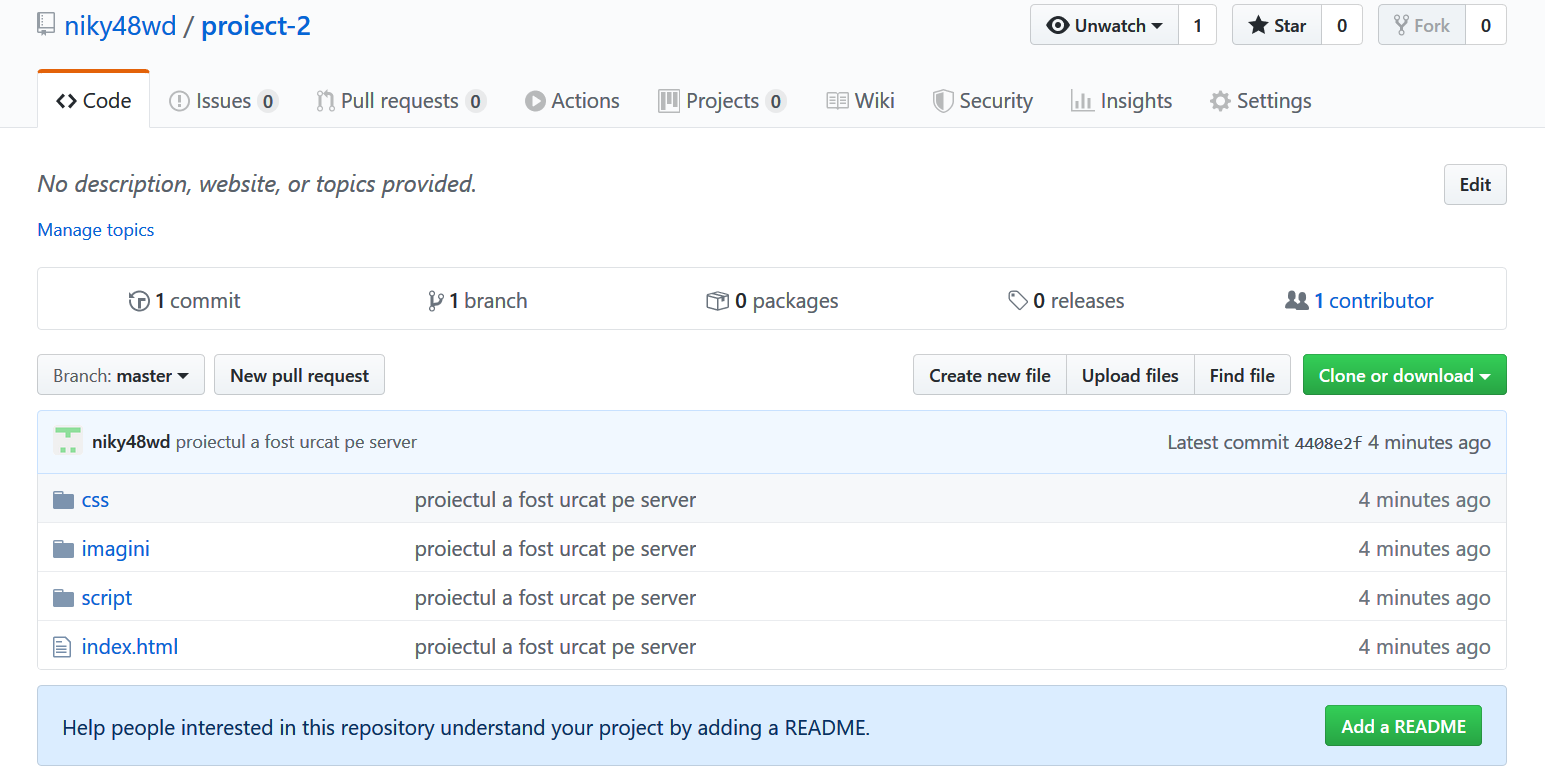
Now, if I take a look at github.com in my account, I will see that proiect-2 has been uploaded to the server, with all its folders and files.
To check if everything is okay, I execute the git status command again:
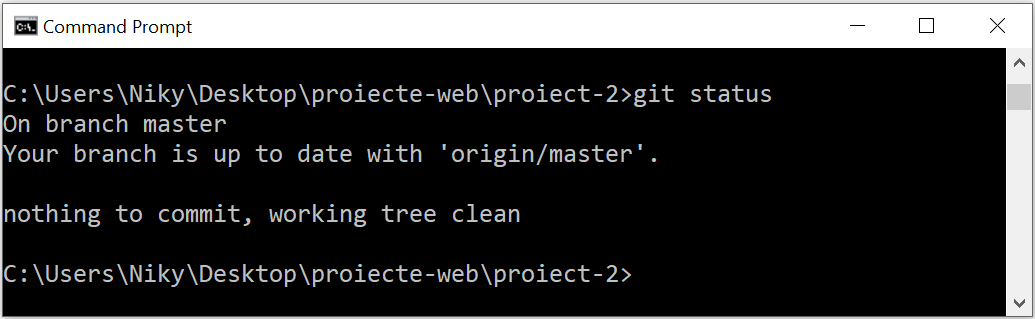
From now on, I will be able to work on the local project and update the remote project every time the local files are modified.
Workflow – Daily Routine
When working with Git, files can be in three states:
- Modified – modified,
- Staged (git add) – prepared for commit,
- Committed (git commit) – changes saved to the server.
The most commonly used commands are the following:
  git add . (modified files in the current directory)
    or
  git add --all (all modified files)
    or
  git add index.html (a specific file)
git commit -m "your message here"
git push
To demonstrate the workflow, I will create a text file – test.txt, in the proiect-2 directory,
  touch test.txt
  git status
then I check if the file was created, open the local text file and add the line "# First line of text" and execute the commands:
  git add --all
  git status
  git commit -m "created test.txt file"
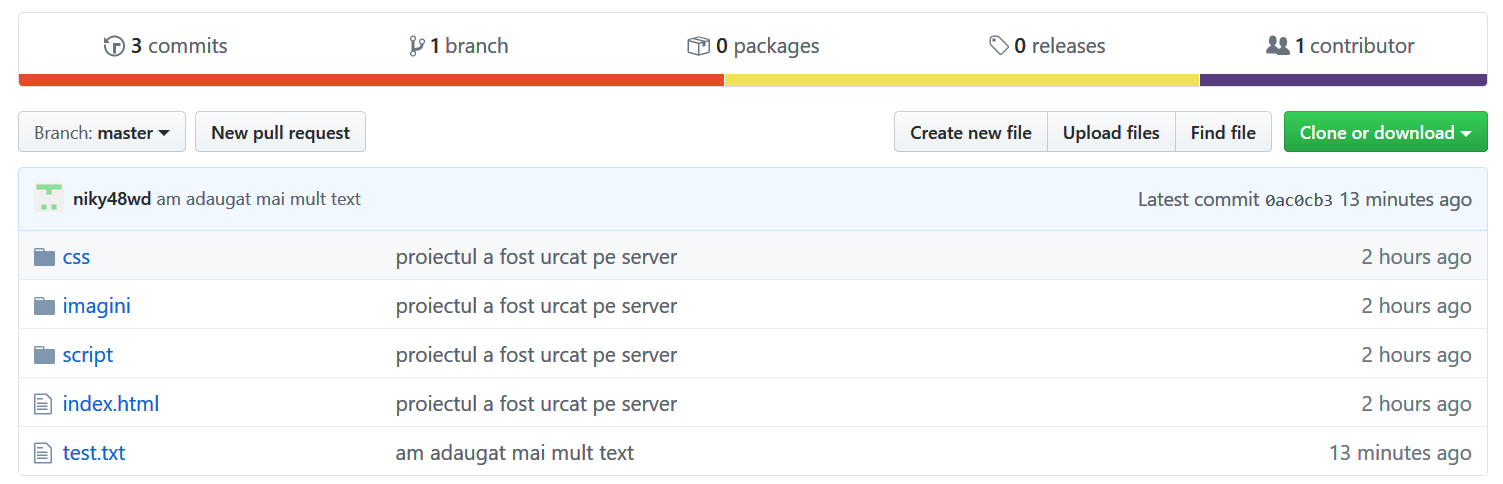
now, I open the local text file again and add the line "# Second line of text" and execute the commands:
  git status
  git add --all
  git status
  git commit -m "added more text"
Finally, after making all the desired changes to the test.txt file and wanting to preserve those changes, all that's left is to apply those changes to the file on GitHub using the command:
git push
and then git status, to check if everything is in order.
Keep in mind that everything presented in this tutorial is the minimum required knowledge you need about Git and GitHub at this moment. Later, you'll use Git in more advanced scenarios, such as branching and merging, but there's no need to worry about that now.
You can always consult the Git documentation at: Git Documentation